It may have taken a while, but here is the third part of my Beginner’s Guide to painting. In the first two parts I wrote about some of the tools you may need, as well as how to prep the minis for painting. In this post, I will discuss the how to go about actually painting the little guys once you have them prepped. In the interest of full disclosure, I am by no means an artist, so I will not be getting into colour theory, brush stroke types and stuff like that, simply because I don’t really understand any of that. I have, however, learned a few tricks about painting minis over the past two or three decades that I am happy to share.
The Traditional Method
I call this the traditional method because it is the first one I read about in the mid 1990s in Dragon Magazine, the official Dungeons and Dragon Magazine. Each issue would have a section devoted to the new minis that had been released that month, and would sometimes feature painting tips for them. With this method, sometimes referred to as layering, you would build up the colours on the mini using two, three, or even more layers, generally from a darker colour to a lighter one. This was often used in combination with a wash, to provide shading. Although it is time consuming, it can produce stunning results in the hands of a master painter.
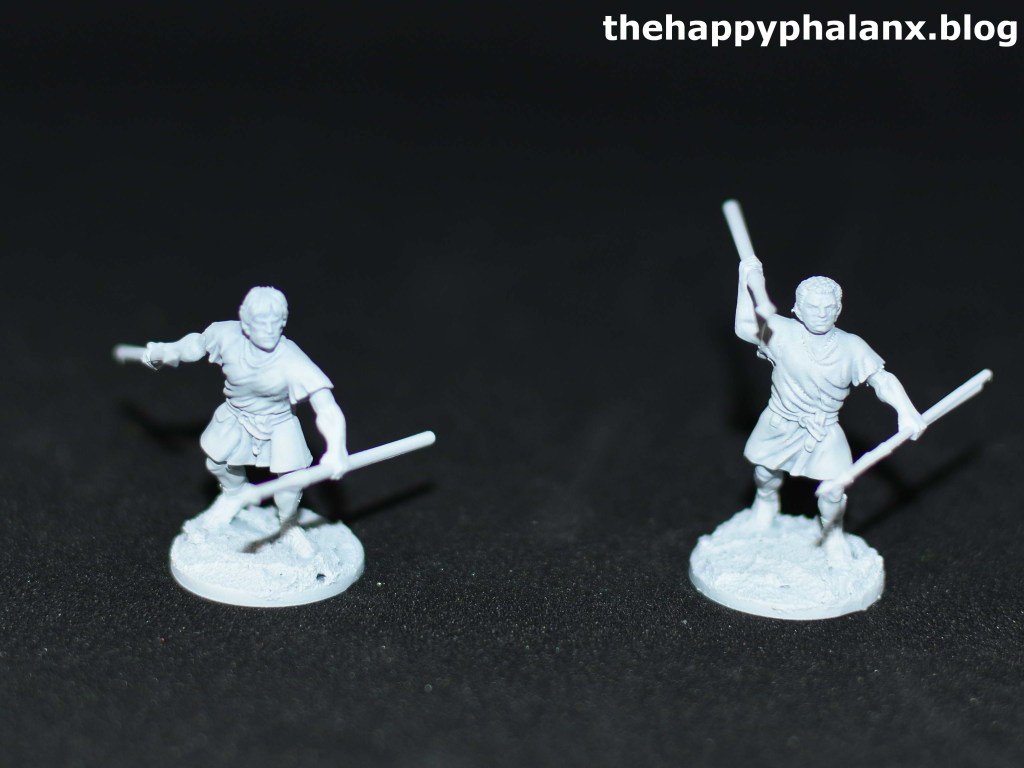
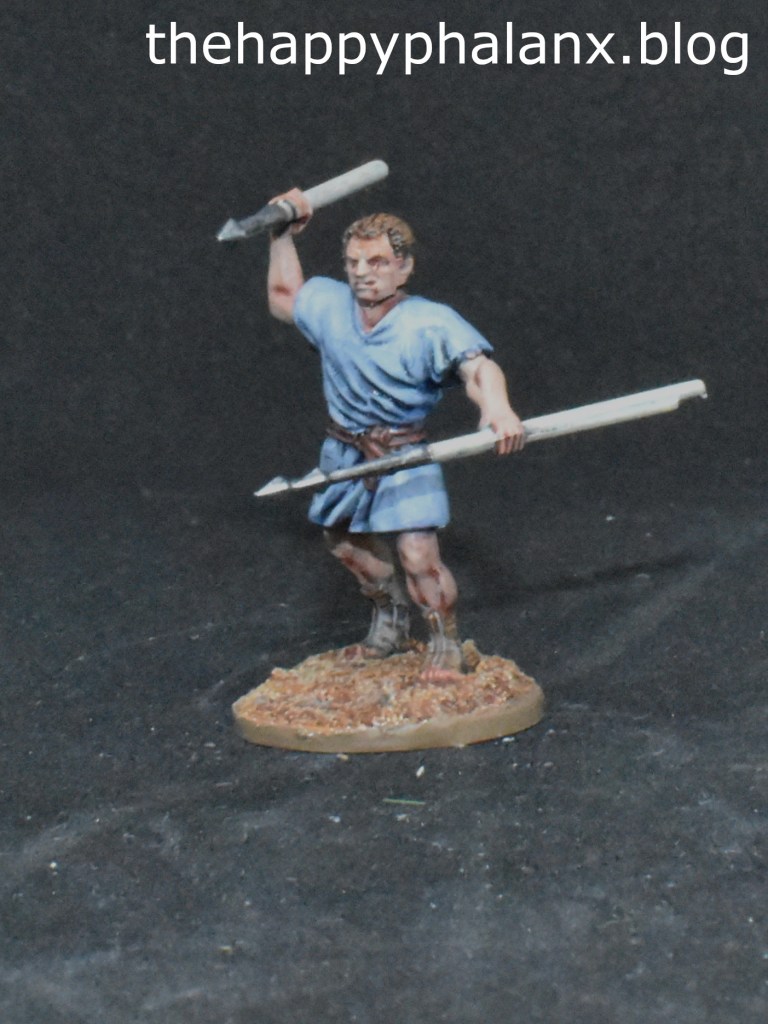
Here is one of the two velites from above, after I painted the base colours on him. If using citadel paints, they actually label certain colours a “bases”, making it easier to know what colour to start with.
As an aside, this is how most of my early minis looked when I first started painting and before I started experimenting with different techniques. I would just paint a single, solid colour on the mini and then use them in various games. It was only after several years of this that I felt brave enough to start layering colours on my minis.
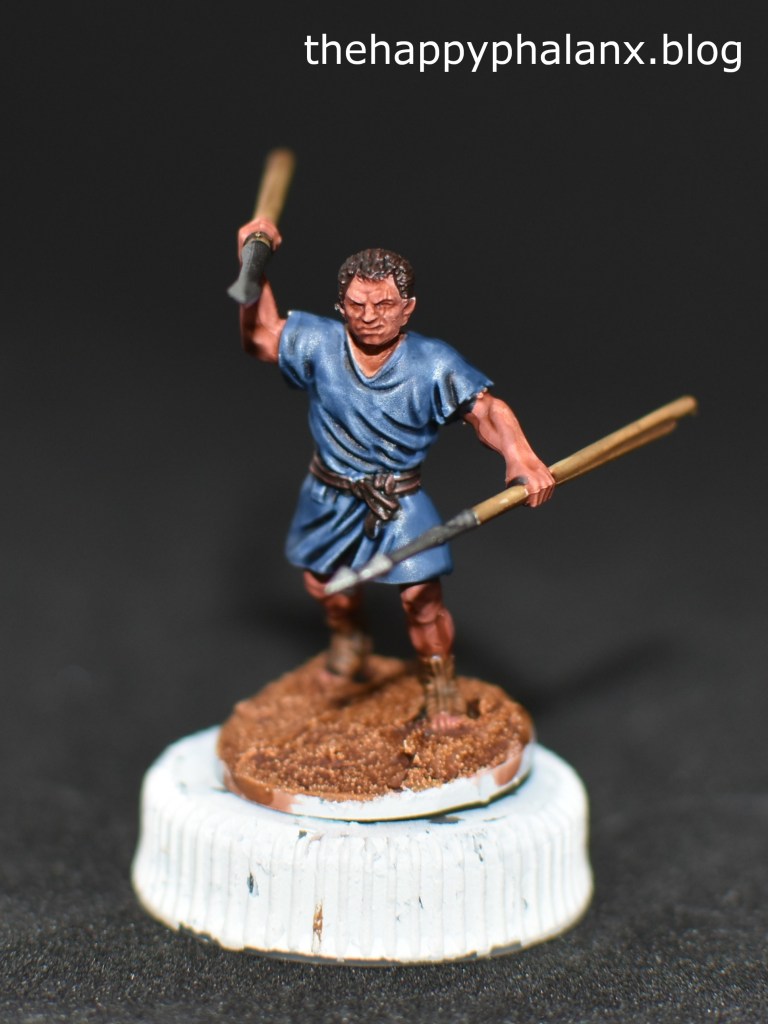
Unfortunately, I forgot to take a picture of the mini after I shaded it, but in this picture you can see how the shade gathers into the various crevices of the face, arms and legs, as well as the folds of the tunic.
These crevices and folds are emphasized by applying a lighter shade of colour over the rest of the figure. By carefully avoiding areas that would be in shadow and following the contours of the face and limbs, it provides depth to those features, especially when compared to the mini in the previous step!
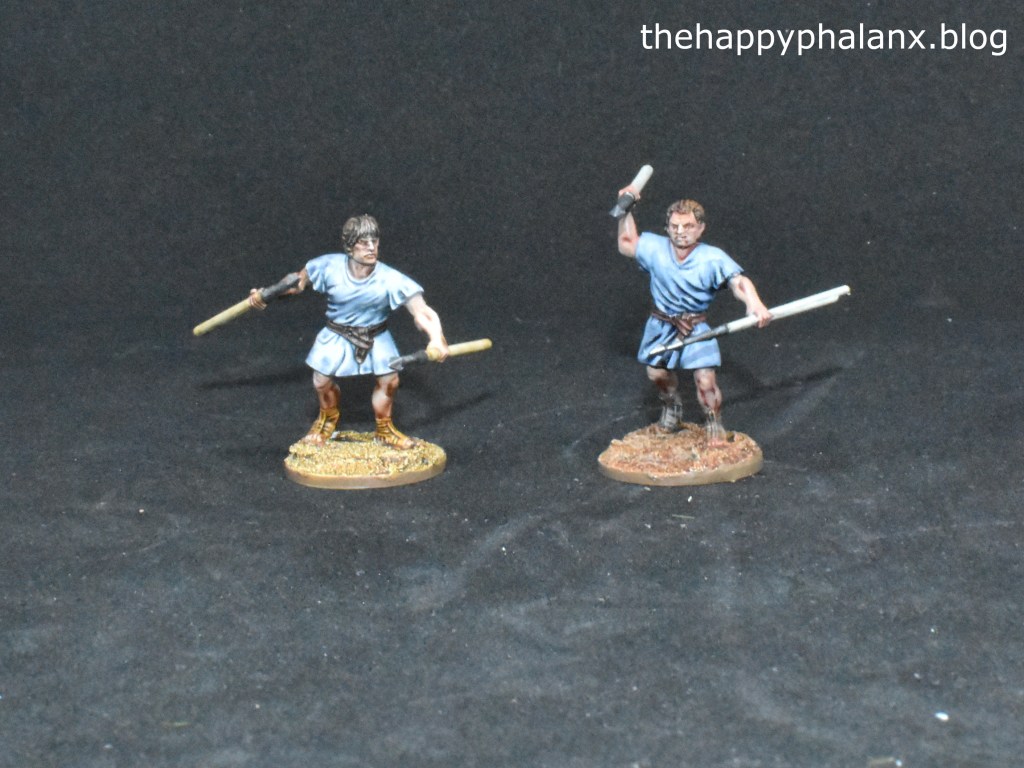
After a third layer of an even lighter shade, this velite is ready for the tabletop! Once again, the trick is to try to follow the contours of the mini so that hopefully none to the details are lost, only highlighted.
I am sometimes asked if I paint eyes on my minis and the answer is, no, not usually. Using the layering techniques, you can see where the eyes would be and that is generally enough. In my experience, painting eyes on a guy only 2-3cm. tall is ridiculously tricky and usually results in them with a cartoony expression of surprise from their huge (relative to the size of their face) eyes!
The Much Quicker and Easier Method
Within the last ten years or so, any makers of paints for miniatures have released a new kind of paint. Sometimes called contrast or speedpaints, depending on the company, these paints are formulated to mimic the traditional painting method described above. this means that it becomes possible to paint a whole lot quicker when using them!
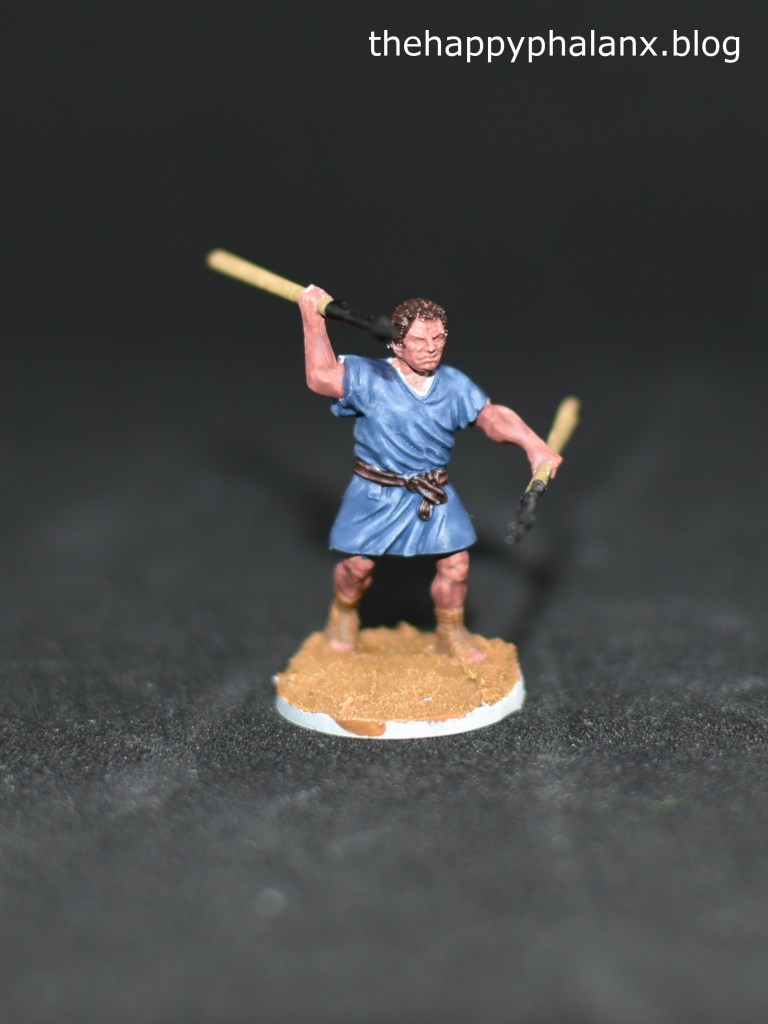
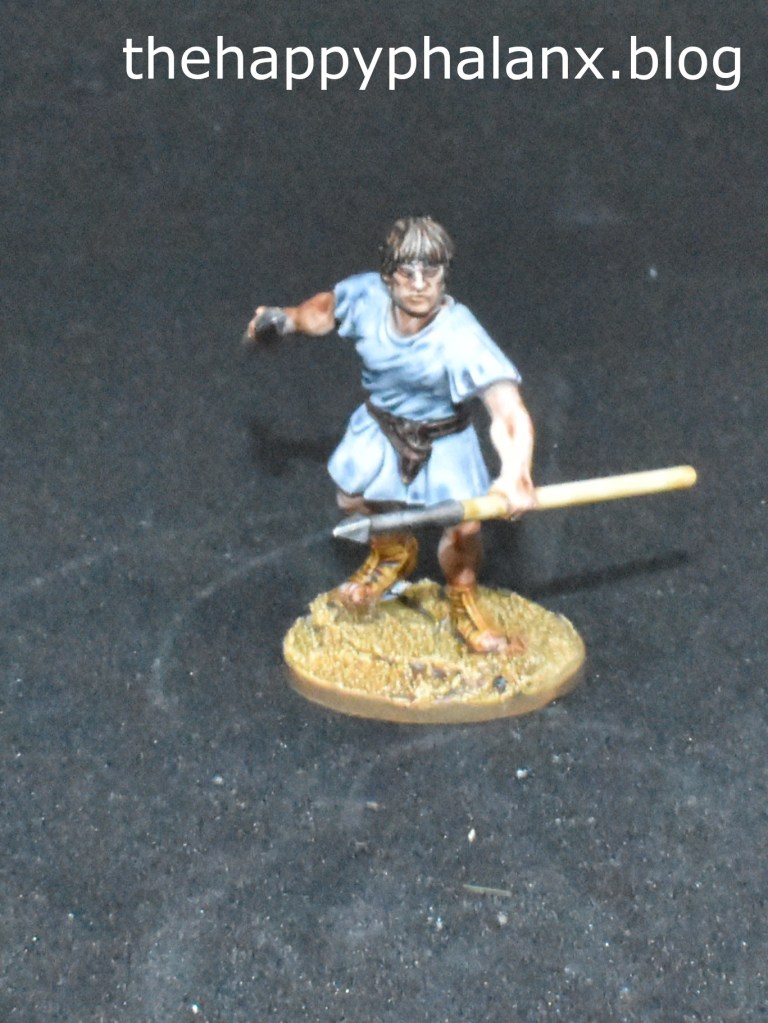
This velite was painted almost entirely with contrast paints, the only exception being the tips of his javelins. You can see how the contrast paint has gathered in the crevices of his face and limbs, as well as the folds of his tunic. With contrast paints, it becomes a whole lot easier to quickly paint the large number of troops that many tabletop games require.

A Comparison of the Two Methods
Both approaches have their strengths and weaknesses, as summarized in the handy chart below:
| Traditional Method | Contrast Methods | |
| Pros | – produces great depth of colour – allows a lot of potential for shading and two practice various techniques – greater control over the colours on the mini – great for painting minis for display purposes | – very quick, the mini painted using these paints took maybe fifteen, twenty minutes – gives a good result quickly – great for painting large numbers of minis for tabletop games |
| Cons | – time consuming, the mini I painted using this technique took at least four times as long as the one pointed with contrast paints – can get a bit expensive since it requires multiple shades of the same colour | – I think that the contrast paints generally lack the same depth of colour that you get with the more traditional method |
So what method should you use? It depends on why you are painting your minis. Personally, I use both methods, sometimes on the same figure. When I am painting my Republican Roman Legions, Gauls, or Syracusan Phalanxes, I generally use the contrast paints for most of the minis, with the shield designs being painted using a more traditional method. This is because these guys are deployed in units of twelve usually, so they have to look good as a unit, not necessarily individually. That is where the contrast or speedpaints come in handy. For games where a greater focus on the individual minis, like Dungeons and Dragons or Test of Honour, I am more likely to use a more traditional approach in painting, as these minis aren’t able to hide in a unit with eleven buddies around them!
Ultimately, I would suggest that beginners start off with contrast or speedpaints first. They do a good job, and you may be able to get more depth of colour with them if you use multiple coats. You also don’t need too many of them to start out, which can save money if you try this hobby out and decide it’s not for you. Once you’ve played around with the contrast paints for a while, then you may want to venture into layering your colours as you grow more confident as a painter. The important thing to remember is that this is a hobby, and there is no “right” way to do it!

Leave a comment