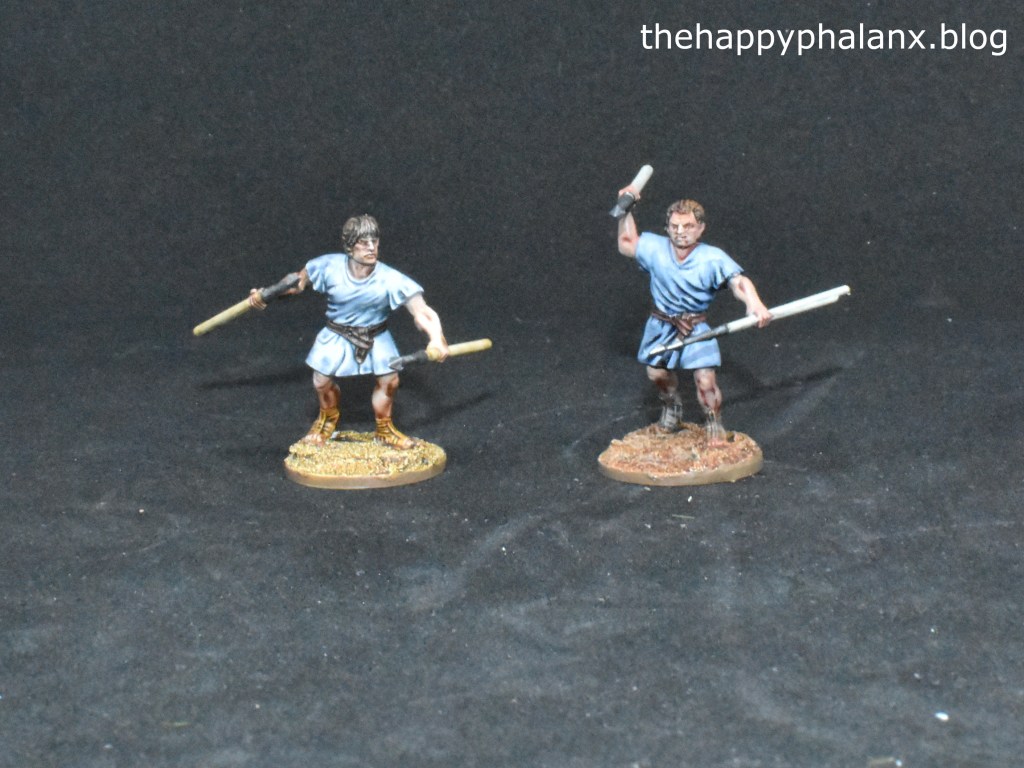
Welcome to the first part of my beginner’s guide to painting miniatures. It can be pretty daunting when you first sit down to paint your first mini, especially if you have no idea where to start! It can be even more intimidating when you look at the incredible job that professional painters do on the same mini that you hold in your hand, awaiting the first strokes of the brush. To try and help people people get started in this hobby, the next several posts are going to focus on ideas to get you started.
Full Discloser: I am by no means a professional painter, artist, or anything of that sort. I am just a guy you has spent years in the hobby and has, through trial and a lot of error, figured out some tricks and techniques.
Paints and Brushes
Not surprisingly, a selection of paints and brushes are a vital part of this hobby.
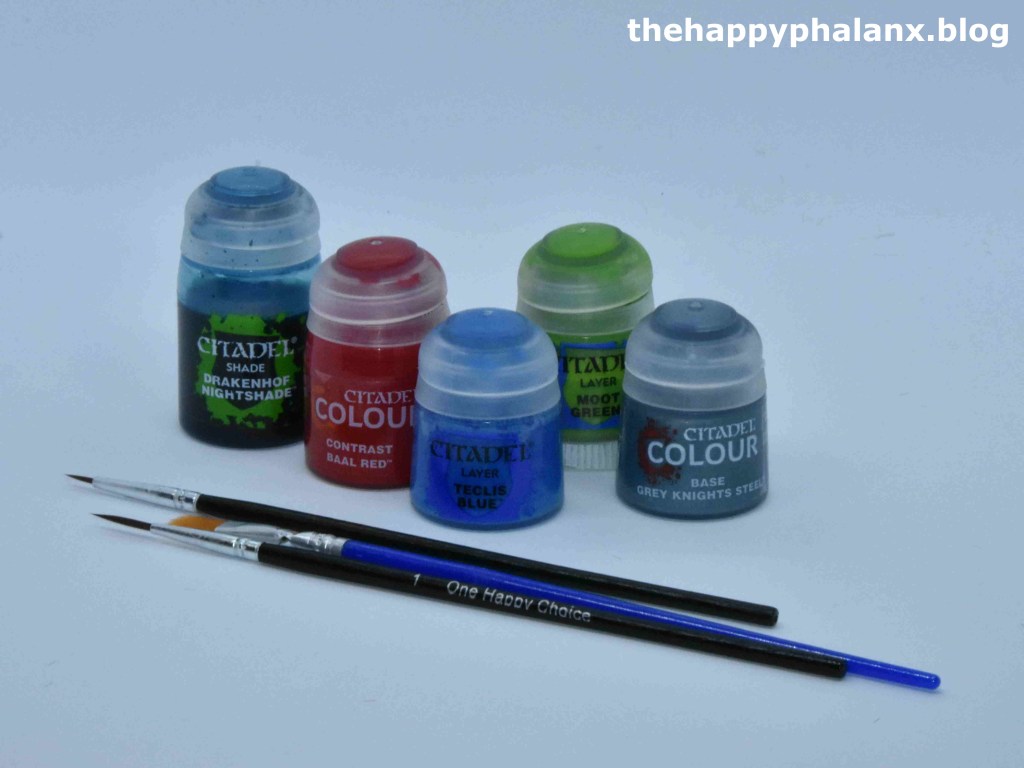
This is possibly one of the most expensive parts of this hobby, building your collection of paints and brushes. Though I started off with maybe a half dozen or so paints, my current collection numbers over 170 little pots! I am not going to recommend any one brand over another, due to my lack of experience with most of them. Some of the most popular paints include Games Workshop’s Citadel line of paints, Vallejo, and Army Painter.
I use Citadel paints, not out of any great loyalty to Games Workshop, but simply because I have been using them for over 20 years now and I feel comfortable using them. I would suggest asking people at your friendly local games store (often abbreviated to FLGS), what they recommend or try using a friend’s paints for a mini or two to get a few for how the paint works for you. Although the paints can be surprisingly expensive for their small size, most of them will last a long time with a little care, i.e. adding a drop or two of water every so often and giving them a good shake.
Brushes can also be really expensive when bought individually or in small packs. They can also require a lot of care to keep clean. My solution to this is to order them in bulk from One Happy Choice Brush Company. Through their website, you can get 50 brushes for about $20 U.S., and they offer free shipping on orders greater than $30. I would personally recommend their size 0 (zero) brushes to start off. The brushes seem to hold their shape reasonably well and I been using them for years now with no complaints.
Tools
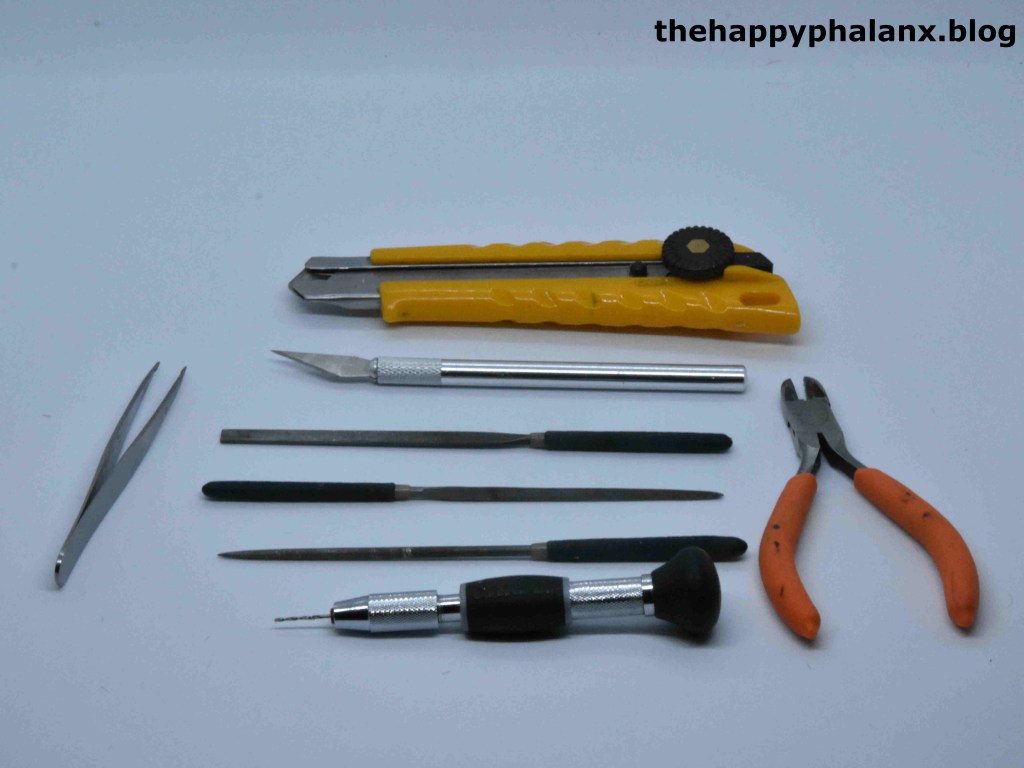
I’ve collected a number of tools for this hobby over the years, but really you can just get by with a decent x-acto knife, and possibly a band-aid or two…
An x-acto knife is invaluable to help prep your minis for basing. It can be used to cut the minis off their plastic sprues and to tidy them up before painting them. “Tidying the up” means removing extra plastic or metal form the minis (called flash), or for smoothing mould lines. A pair of clippers or wire-cutters can be helpful with cutting the minis off spues as well. You can also get tiny files to help tidy up the minis before painting. Tweezers can help when you are trying to glue your minis together. A final tool to consider if you stick with this hobby is a pin vise drill to help assembly the minis with. Really though, just a good x-acto knife is enough to get you started.
Glue
A lot of the minis today require assembly, so a good glue is essential.

I currently use three different glues while practicing my craft, but you can easily get by with just one. For years I used krazy glue for any gluing that needed to be done. Some people suggest using purpose formulated plastic glue for plastic minis, and super glue from resin or metal, which I have recently started doing. The plastic glue definitely doesn’t work as well on resin and metal minis than the super glue, and to be honest, I don’t see a big difference between plastic glue and super glue on the plastic minis. Once my plastic glue runs out, I will probably go back to using super glue for all three materials just to make my life a little simpler. The good old Elmer’s glue is there for when I am finishing the bases with tiny rocks and static grass.
Basing Material
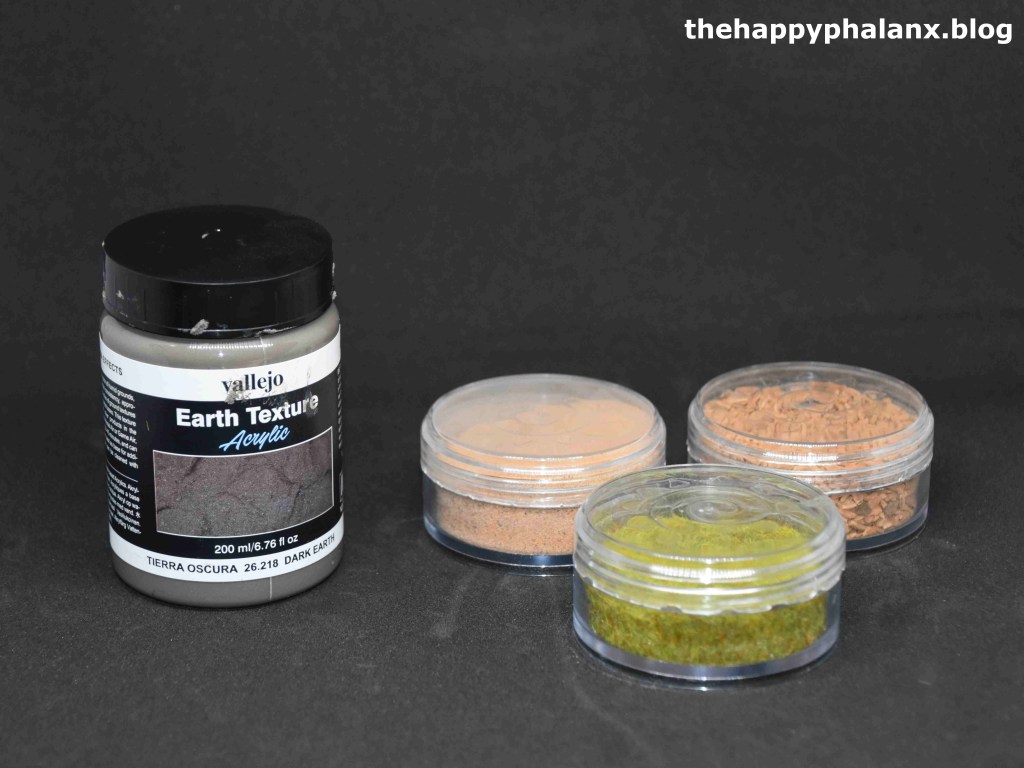
With a bit of effort, these basing materials can go a long way towards making you minis you professionally finished.
Once your mini is painted, there is still the base of it to consider. There is absolutely nothing wrong with painting the base a solid colour, often a green or brown shade, and calling it a day. One the other hand, a few minutes with some glue and static grass or small rocks can go a long way towards enhancing the look of the finished mini. If you are feeling really ambitious, you can use a basing paste or contour paint to create textured base as well. These paints contain grit and and fine sand that creatures a more natural looking landscape beneath your mini. This is an area I have only really started playing around with in the last year or so, so I really don’t have much more to add on this topic!
A Workspace
I am luckily to have a dedicated desk in the basement for mini stuff. As you can see, keeping it neat and tidy is very important….

Finally, you will need a place to keep all of your hobby stuff and actually work. I am fortunate to have a spot in the basement where I can spread out my stuff and do some painting whenever I have a few minutes to spare. When I was younger, I would keep a lot of it on a serving tray that I could move out of the way when I had to do actual work. Having a dedicated area with a good light source can really go a long way towards making the hobby more enjoyable, as well as allowing you the opportunity to squeeze in a few minutes of painting here and there without having to get everything out.
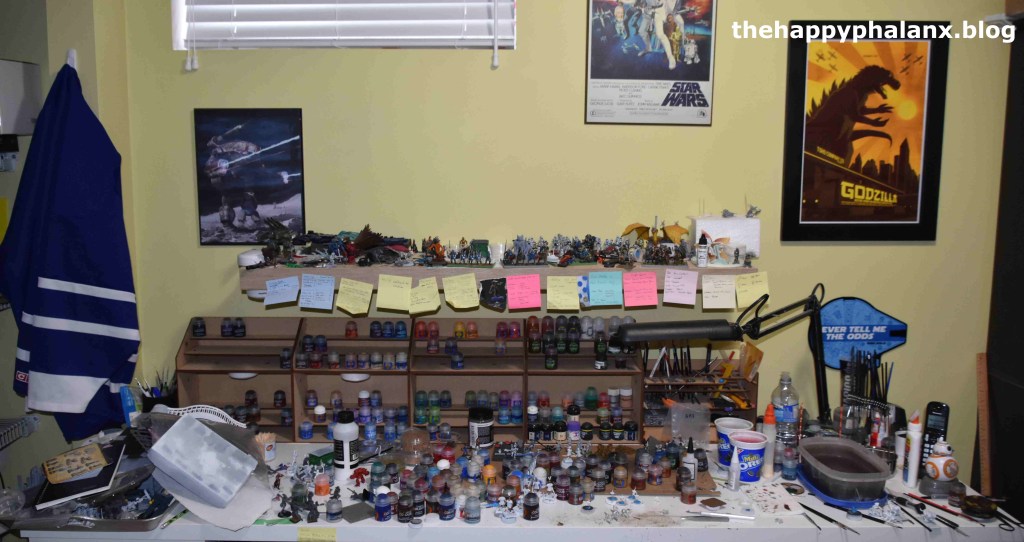
Okay, I was feeling guilty about the comment about the importance of a tidy workplace. Here is what mine looks like most of the time!
That’s it for part one of this beginner’s guide. I will try to get the next part up, prepping your minis for painting, in the next two or three weeks. Until then, have fun!

Leave a comment